Read below to learn how to erase a setting if your S400 scanner is stuck at Step 1 of the setup process.
Important Note: This issue occurs in Styku version 4.0. It is resolved in version 4.1. We recommend that you update your system to version 4.1. Contact Styku for assistance upgrading your S400 scanner.
Step 1 : Close the Styku software.
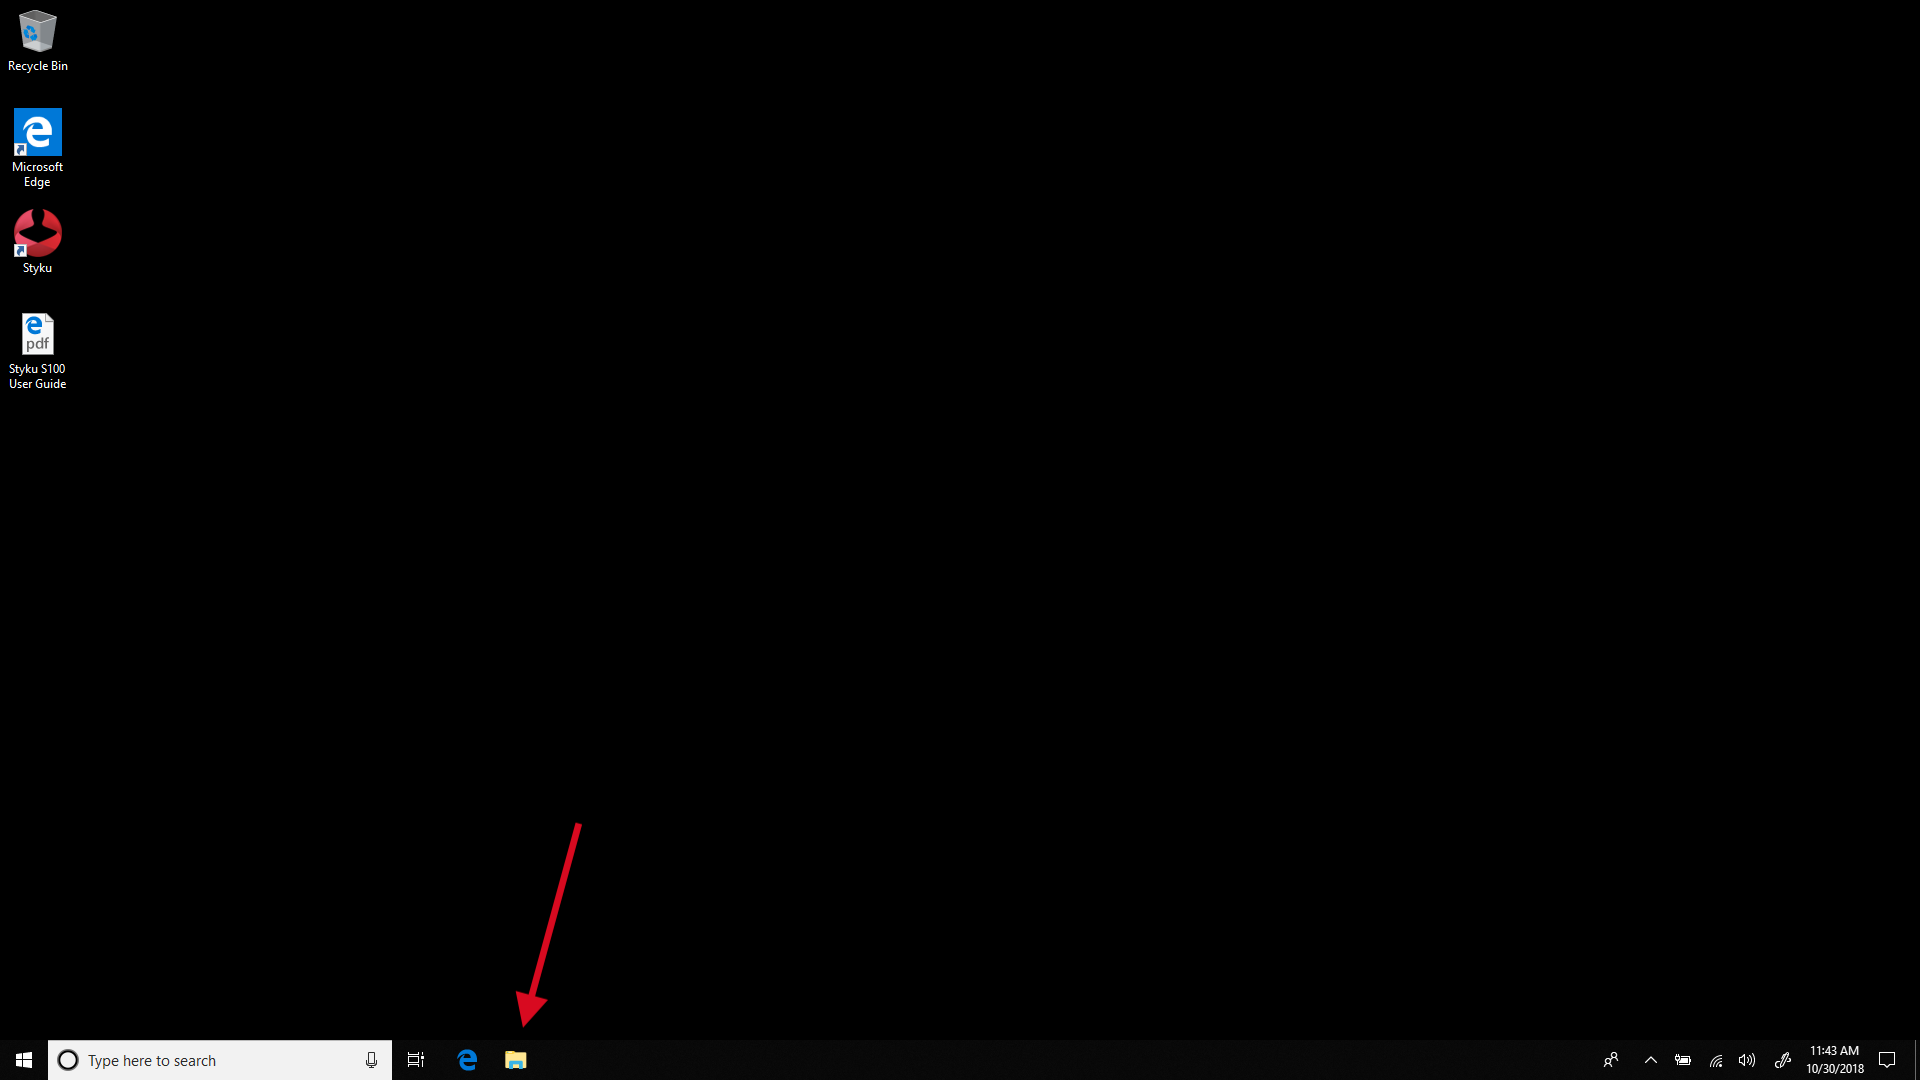
Step 2 : Open the File Explorer by pressing on the folder icon on the Windows tool bar.
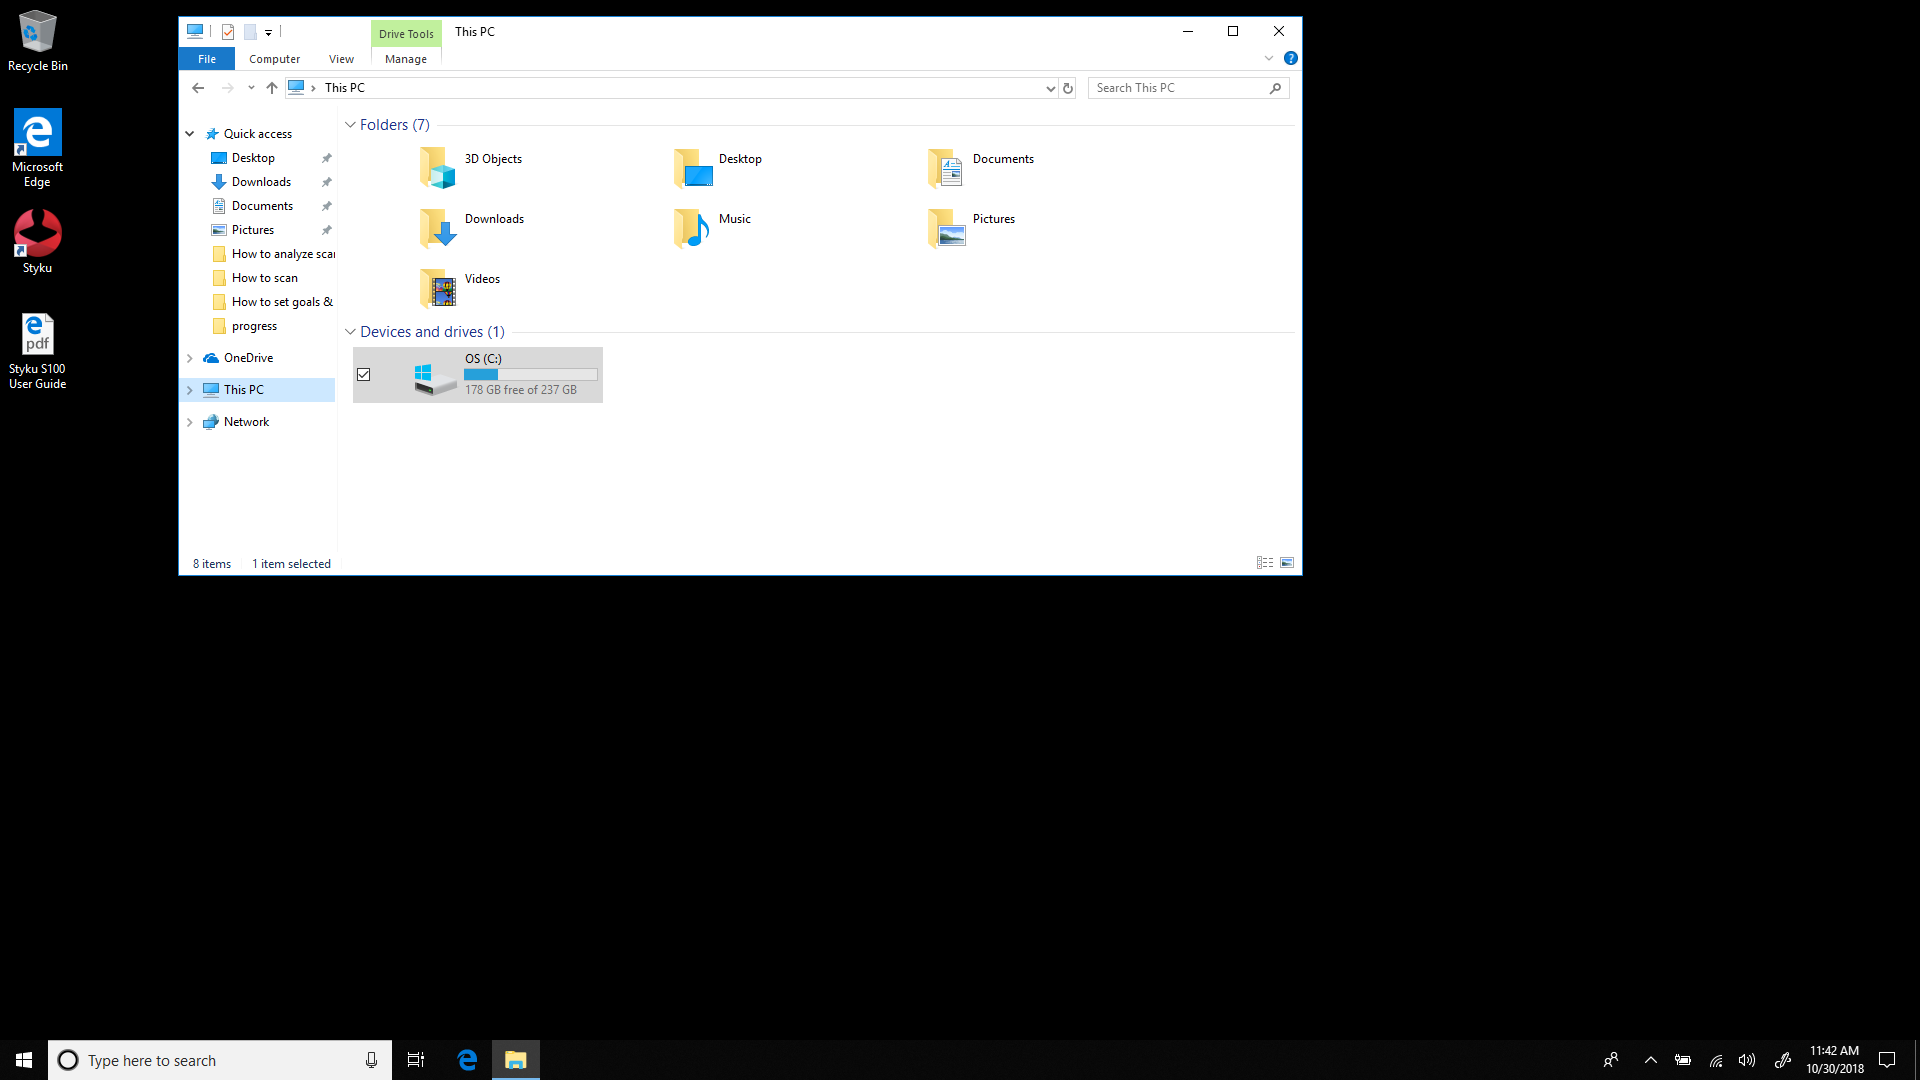
Step 3 : Choose "This PC" on the left bar, and double click on "OS (C:)" to open that folder.
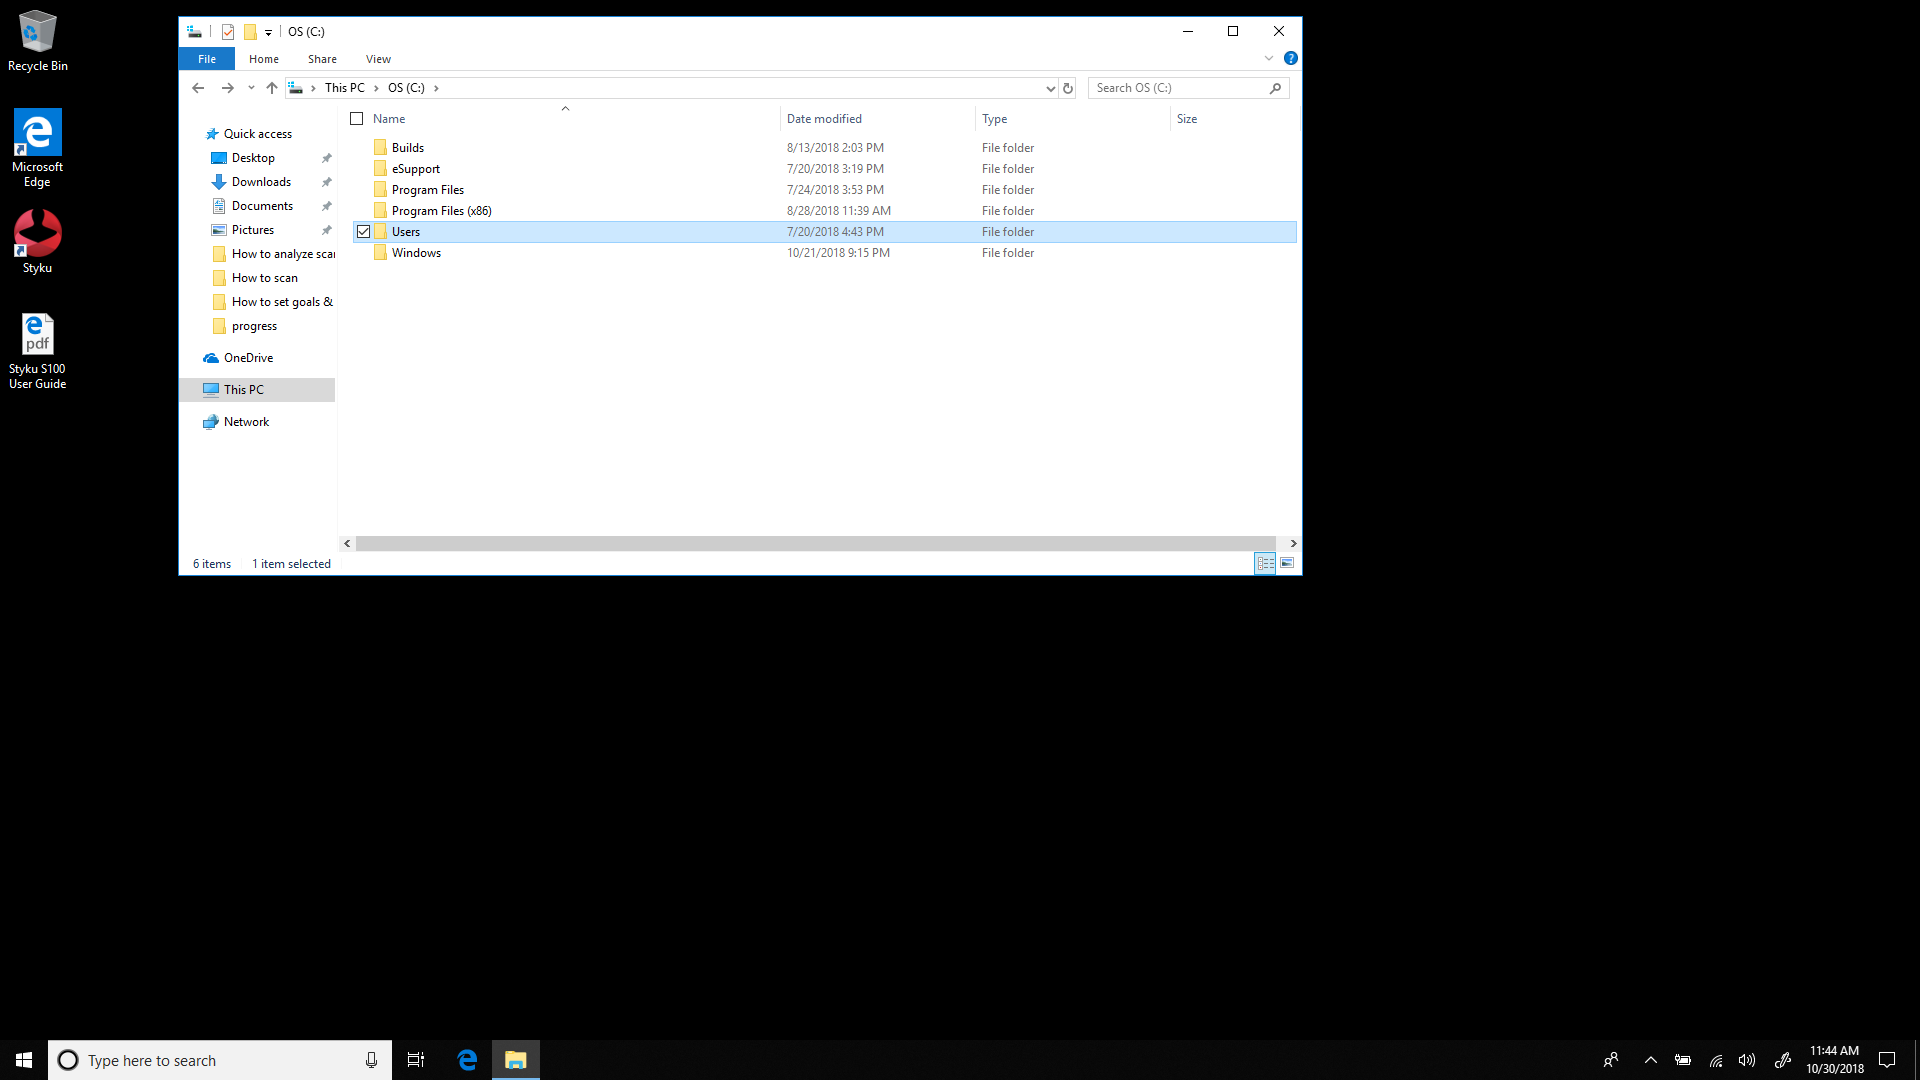
Step 4 : Choose the Users folder.
Step 5 : Choose the folder for your user account (example, Styku, or Golds3D)
.png)
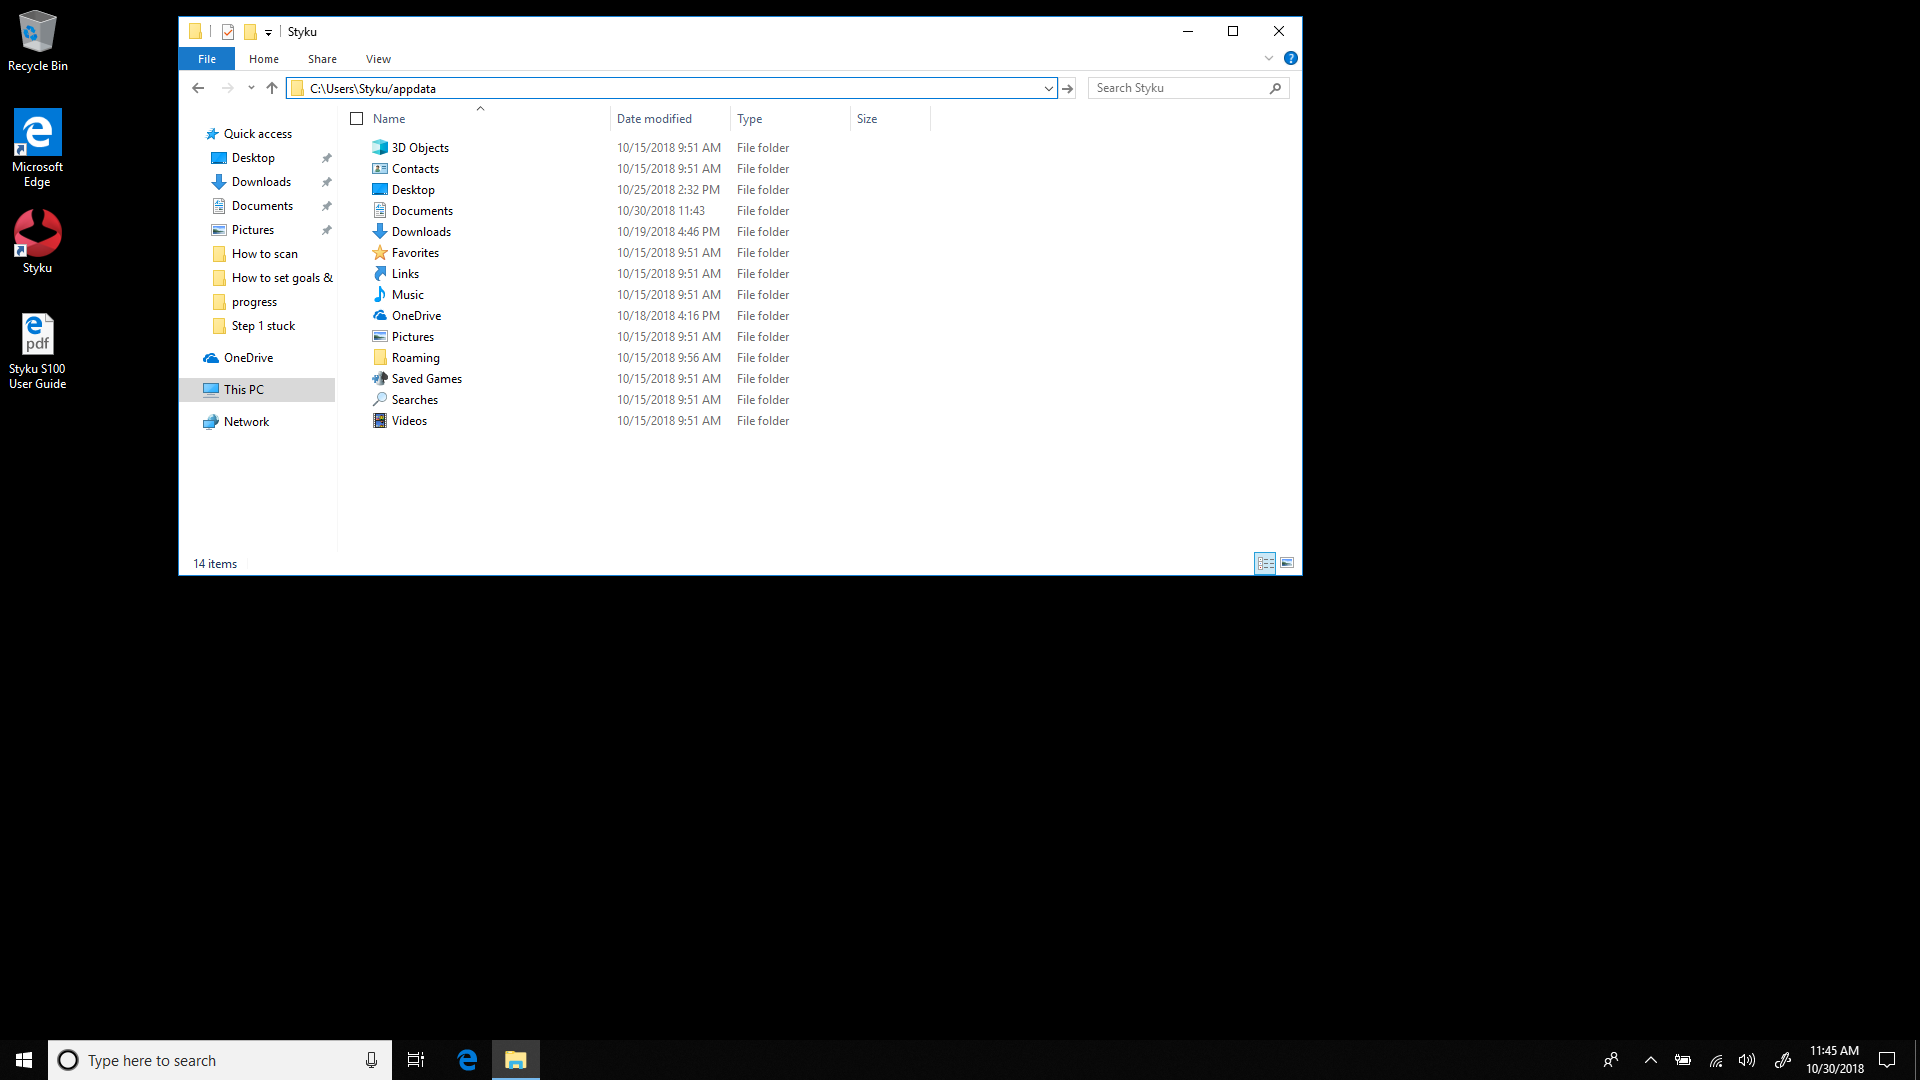
Step 6 : click on the address bar, and add /appdata to the end of the address. Then press Enter.
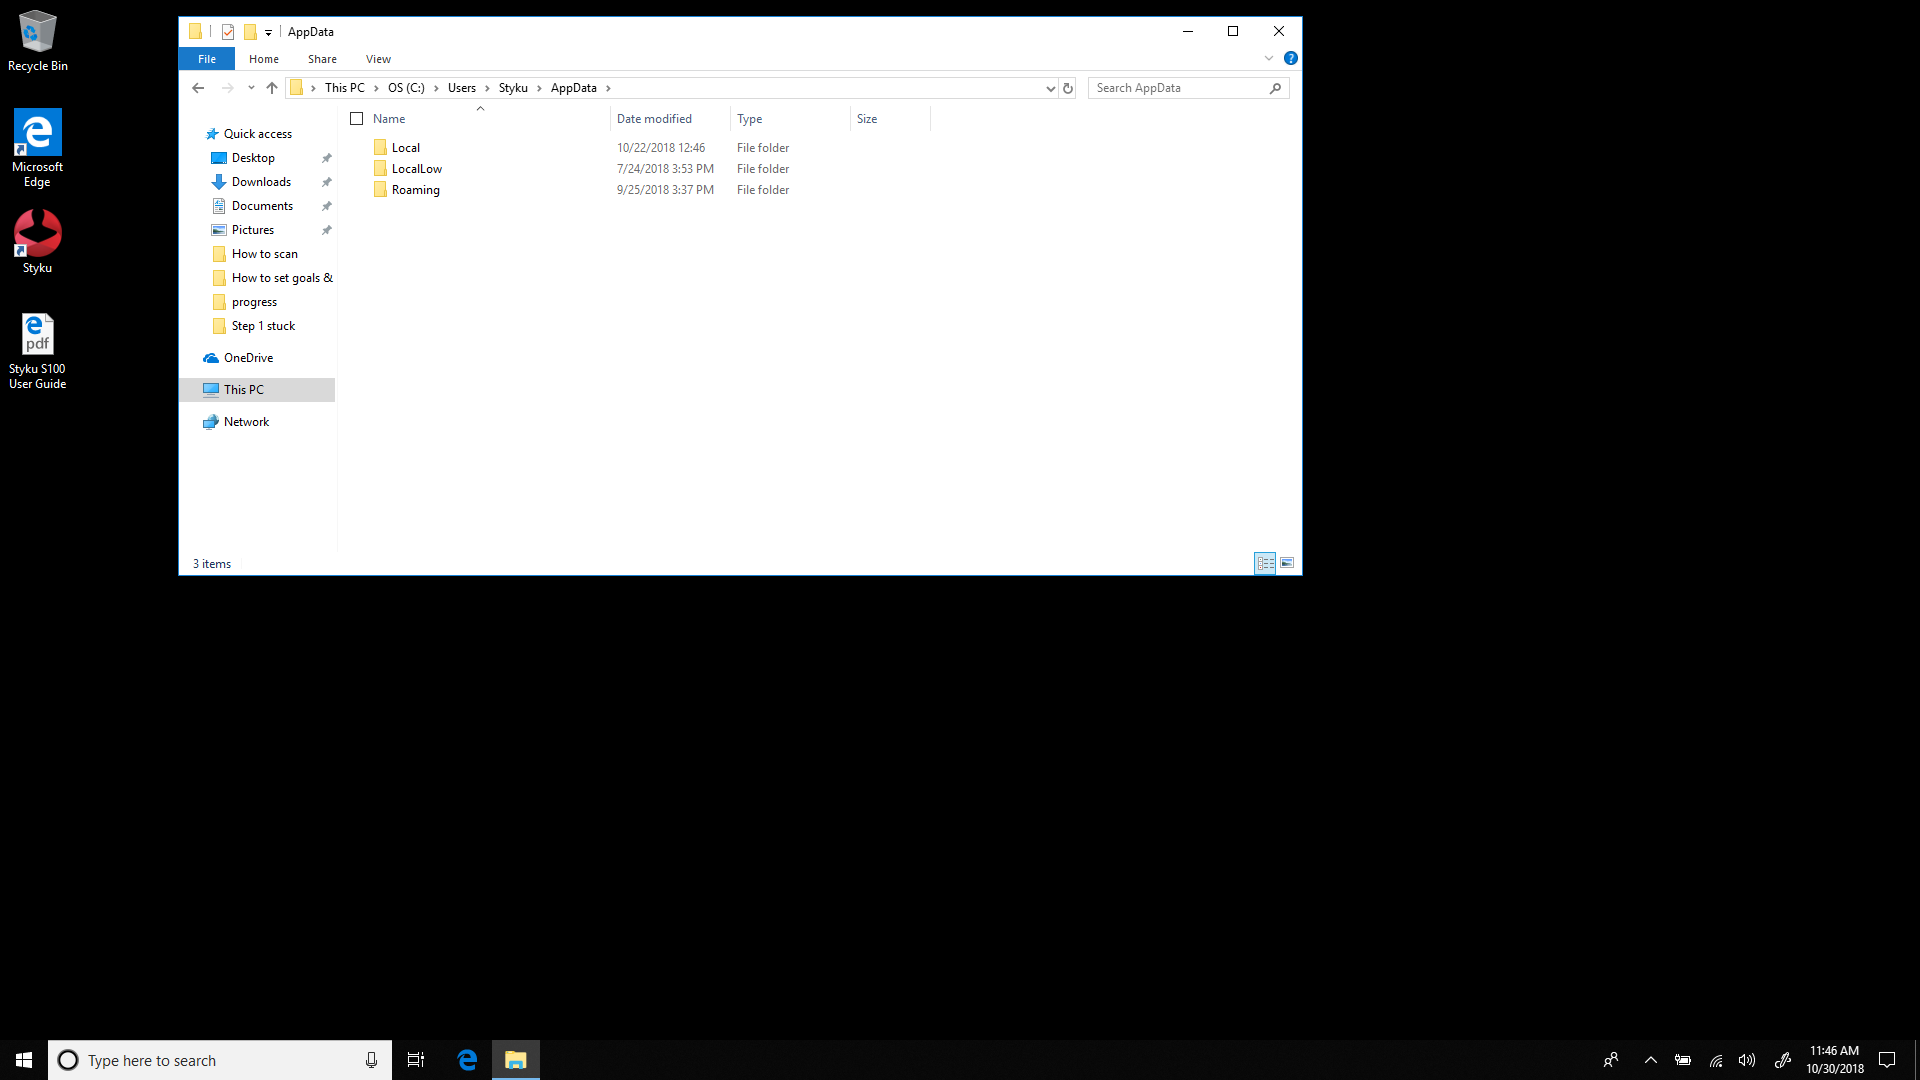
Step 7 : Choose the Local folder.
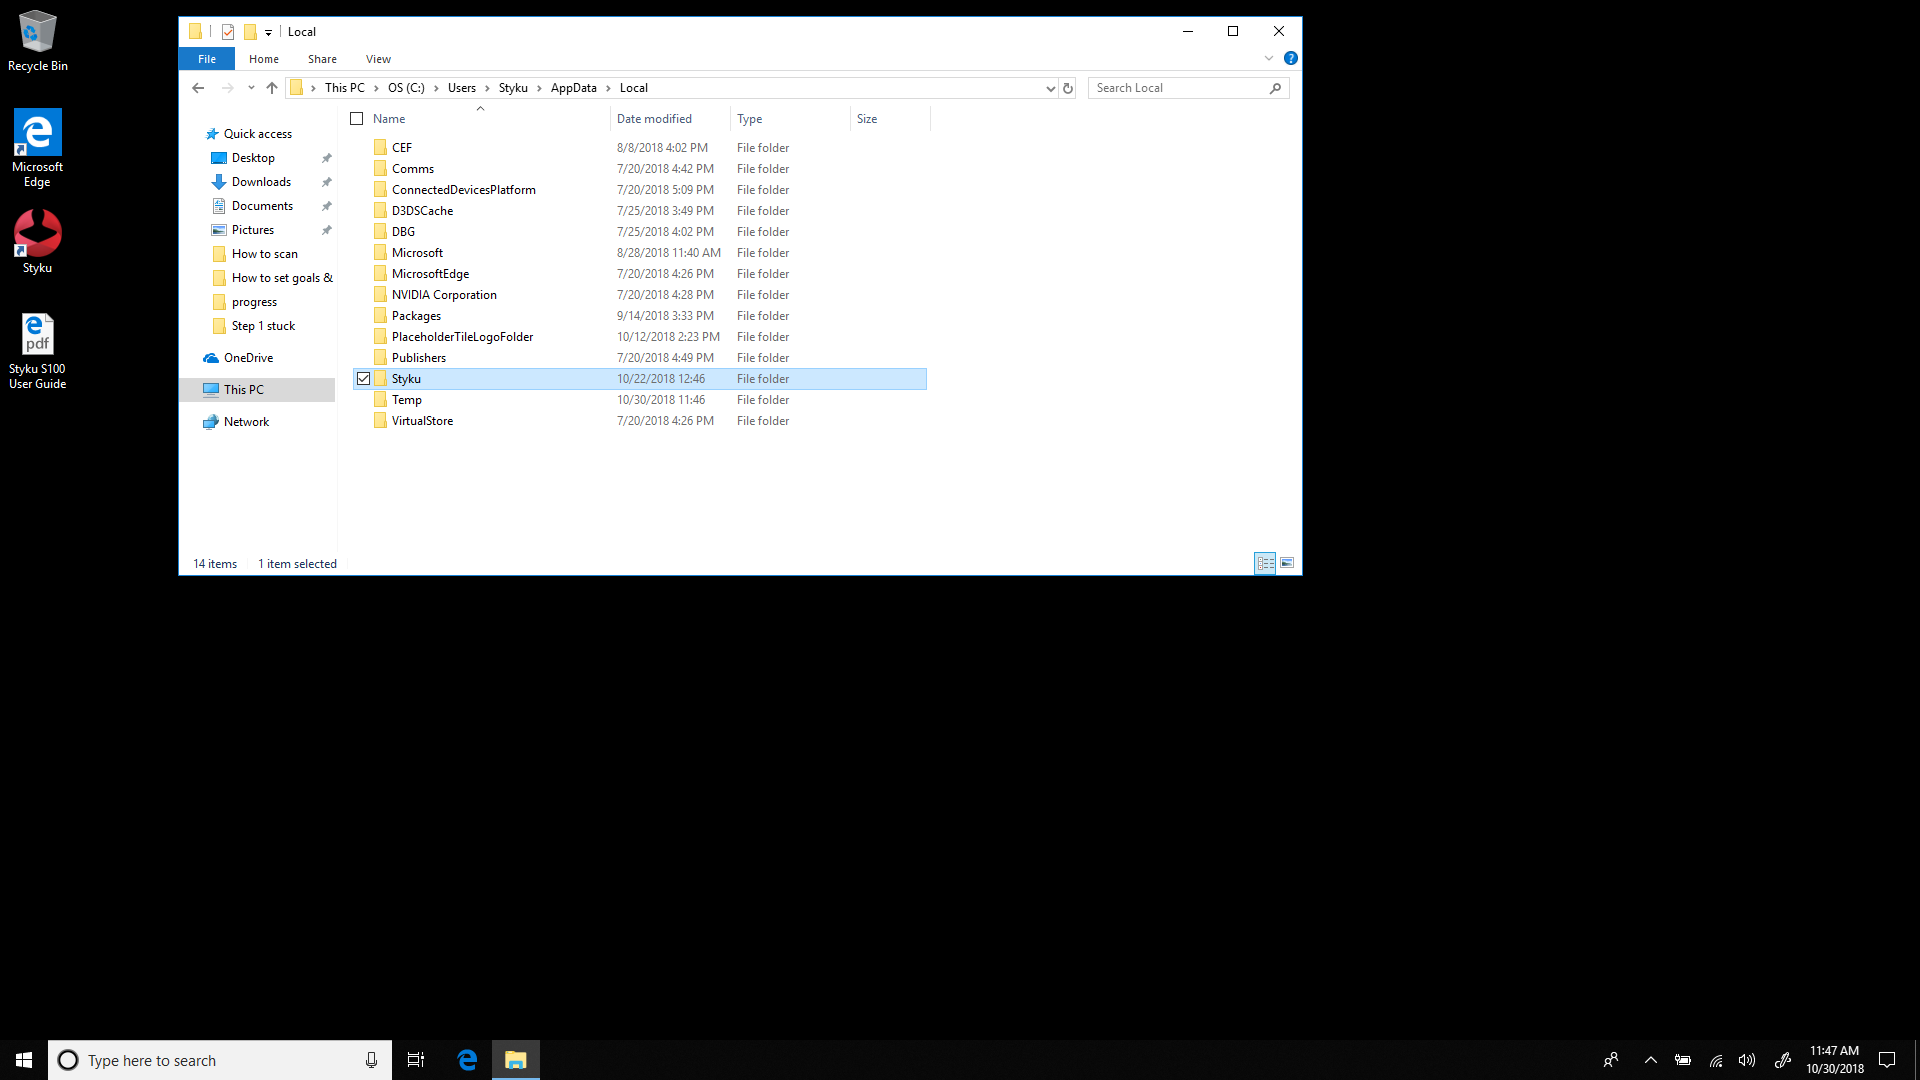
Step 8 : Choose the Styku folder.
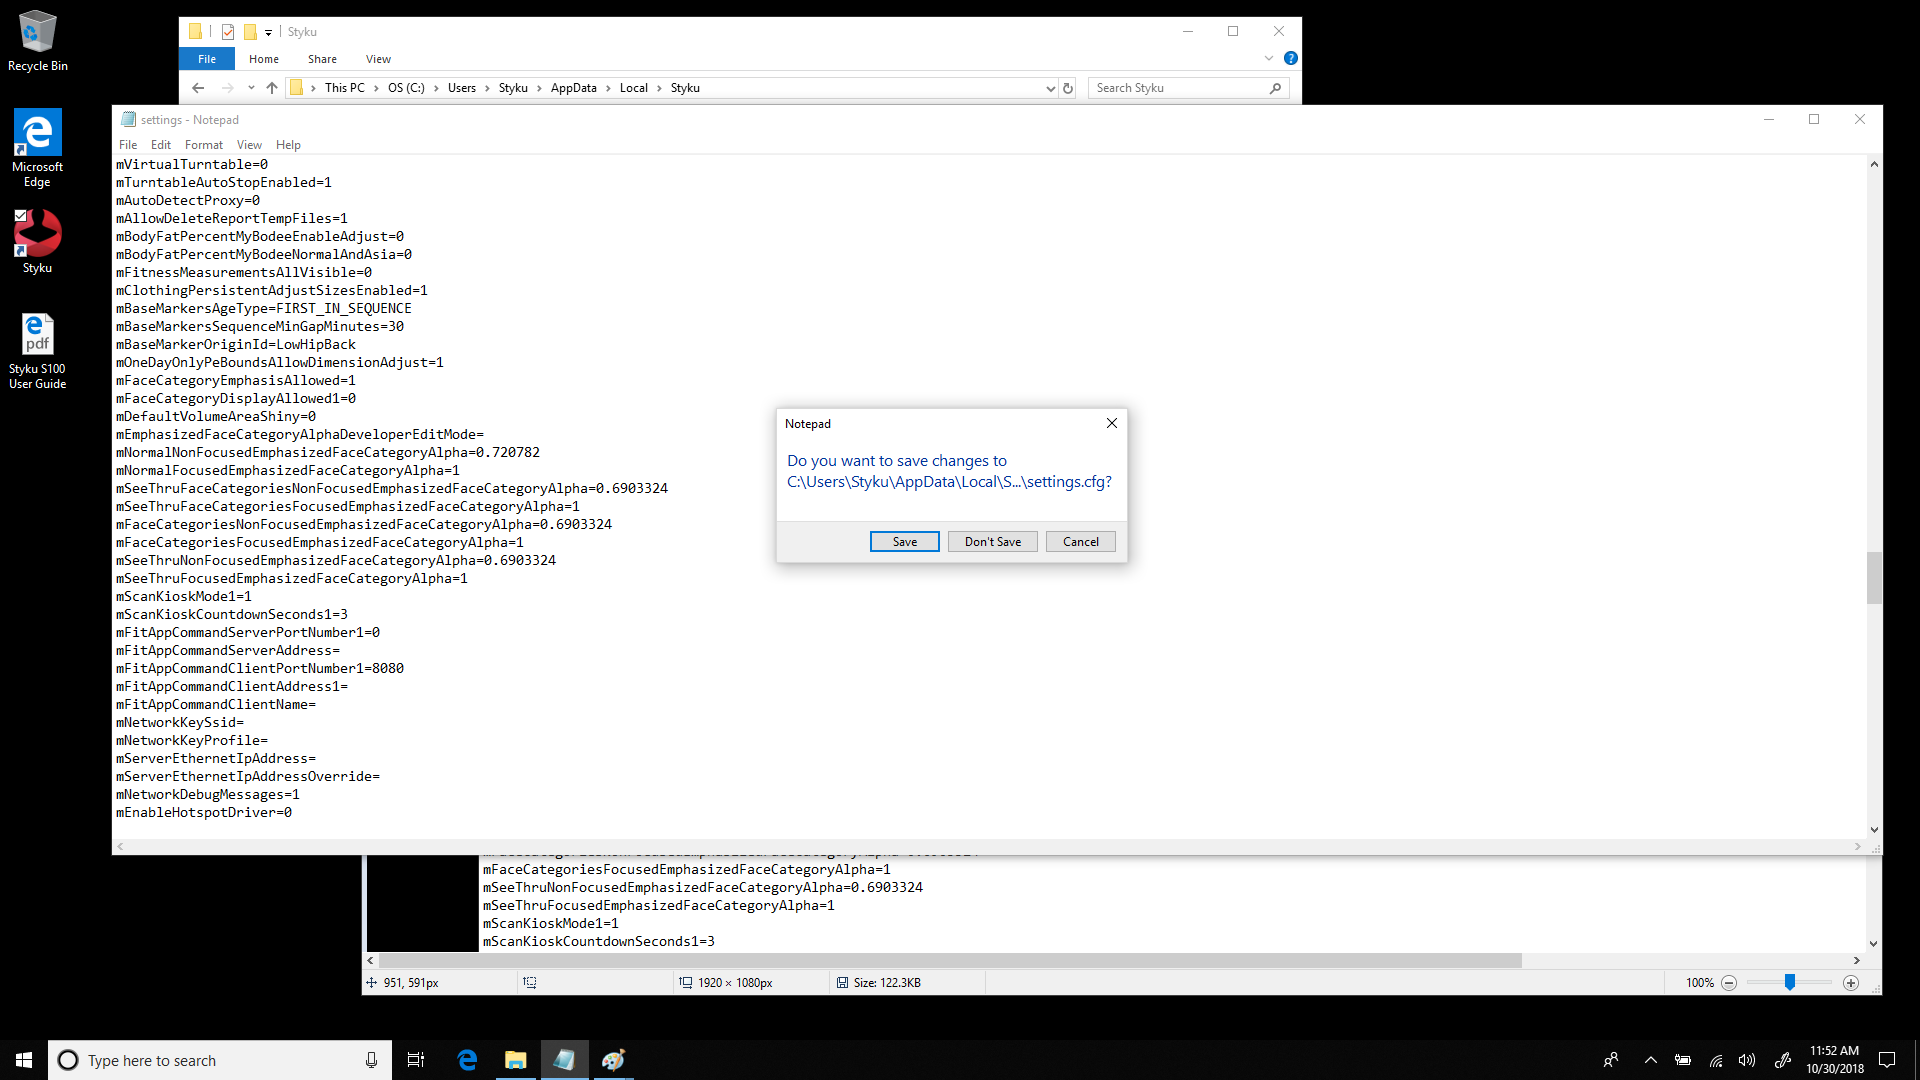
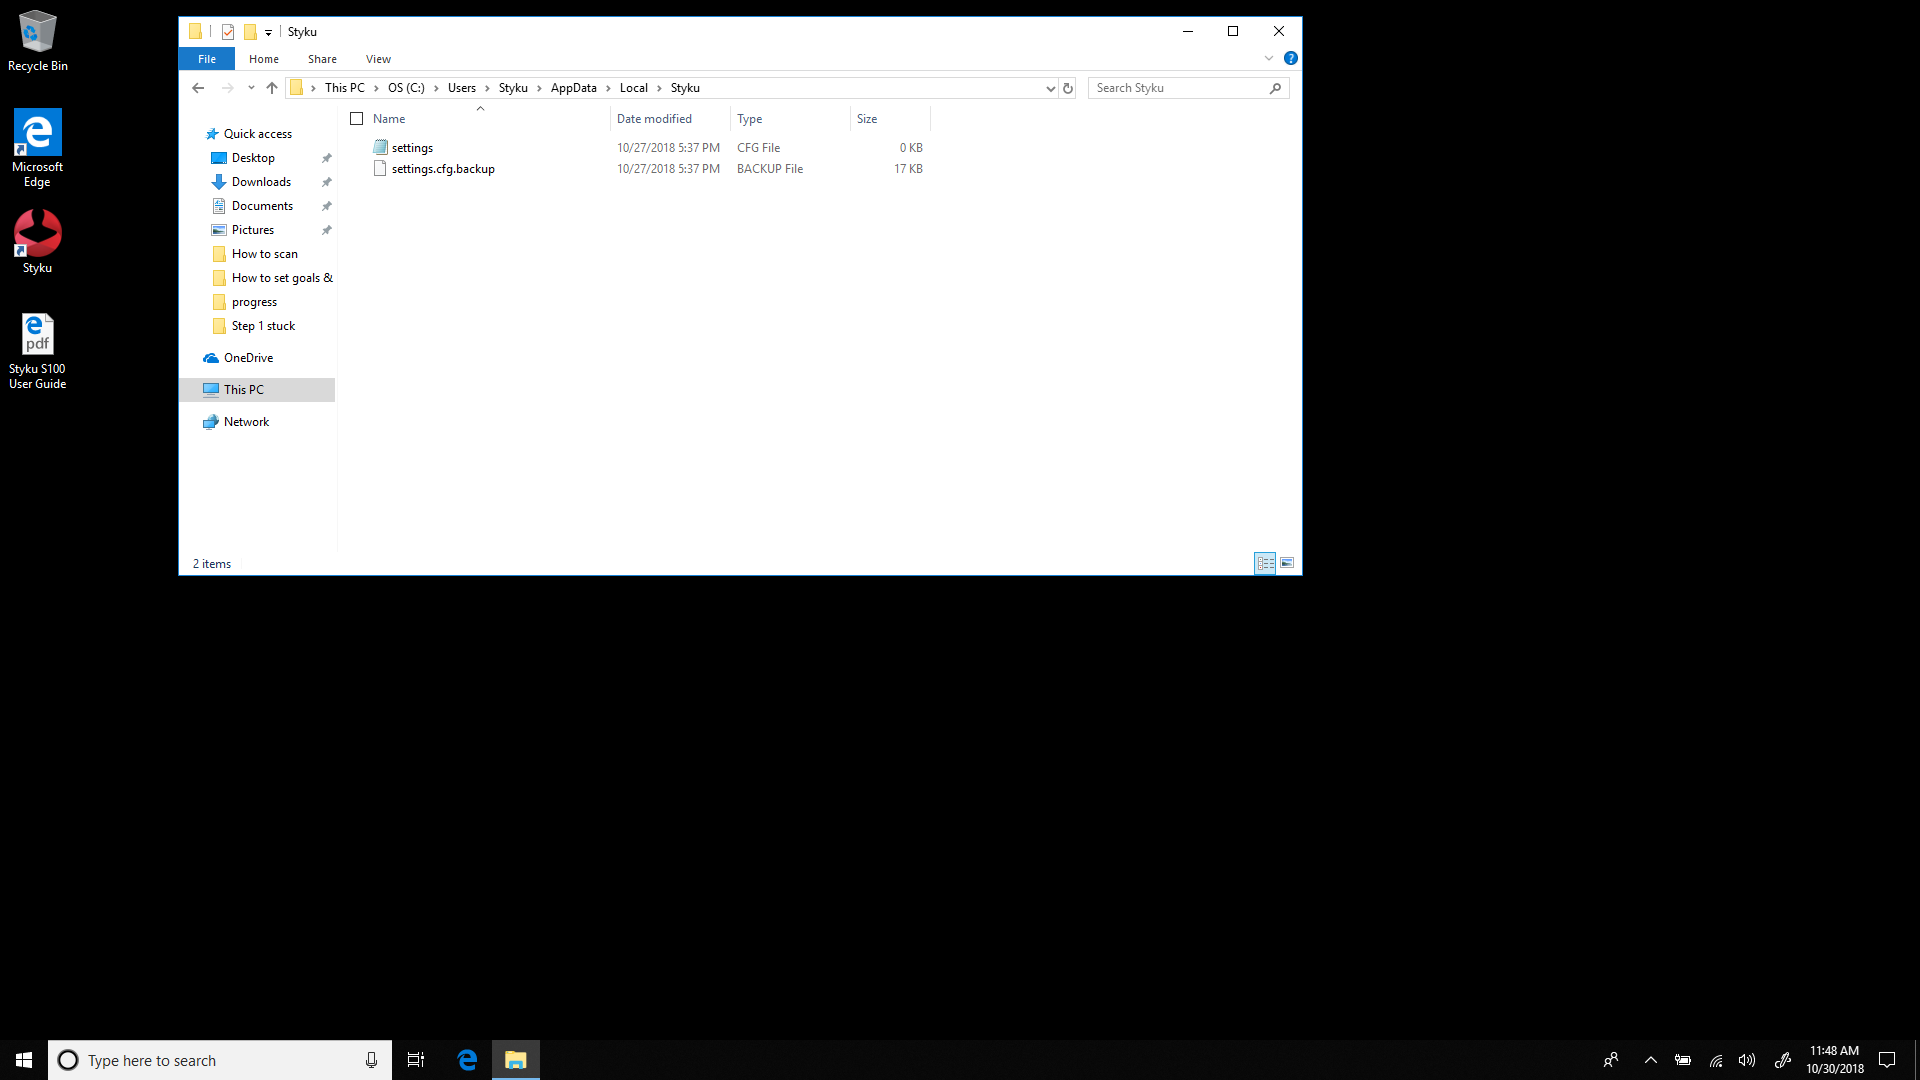
Step 9 : Double-click the Settings file, and choose to open it with Notepad.
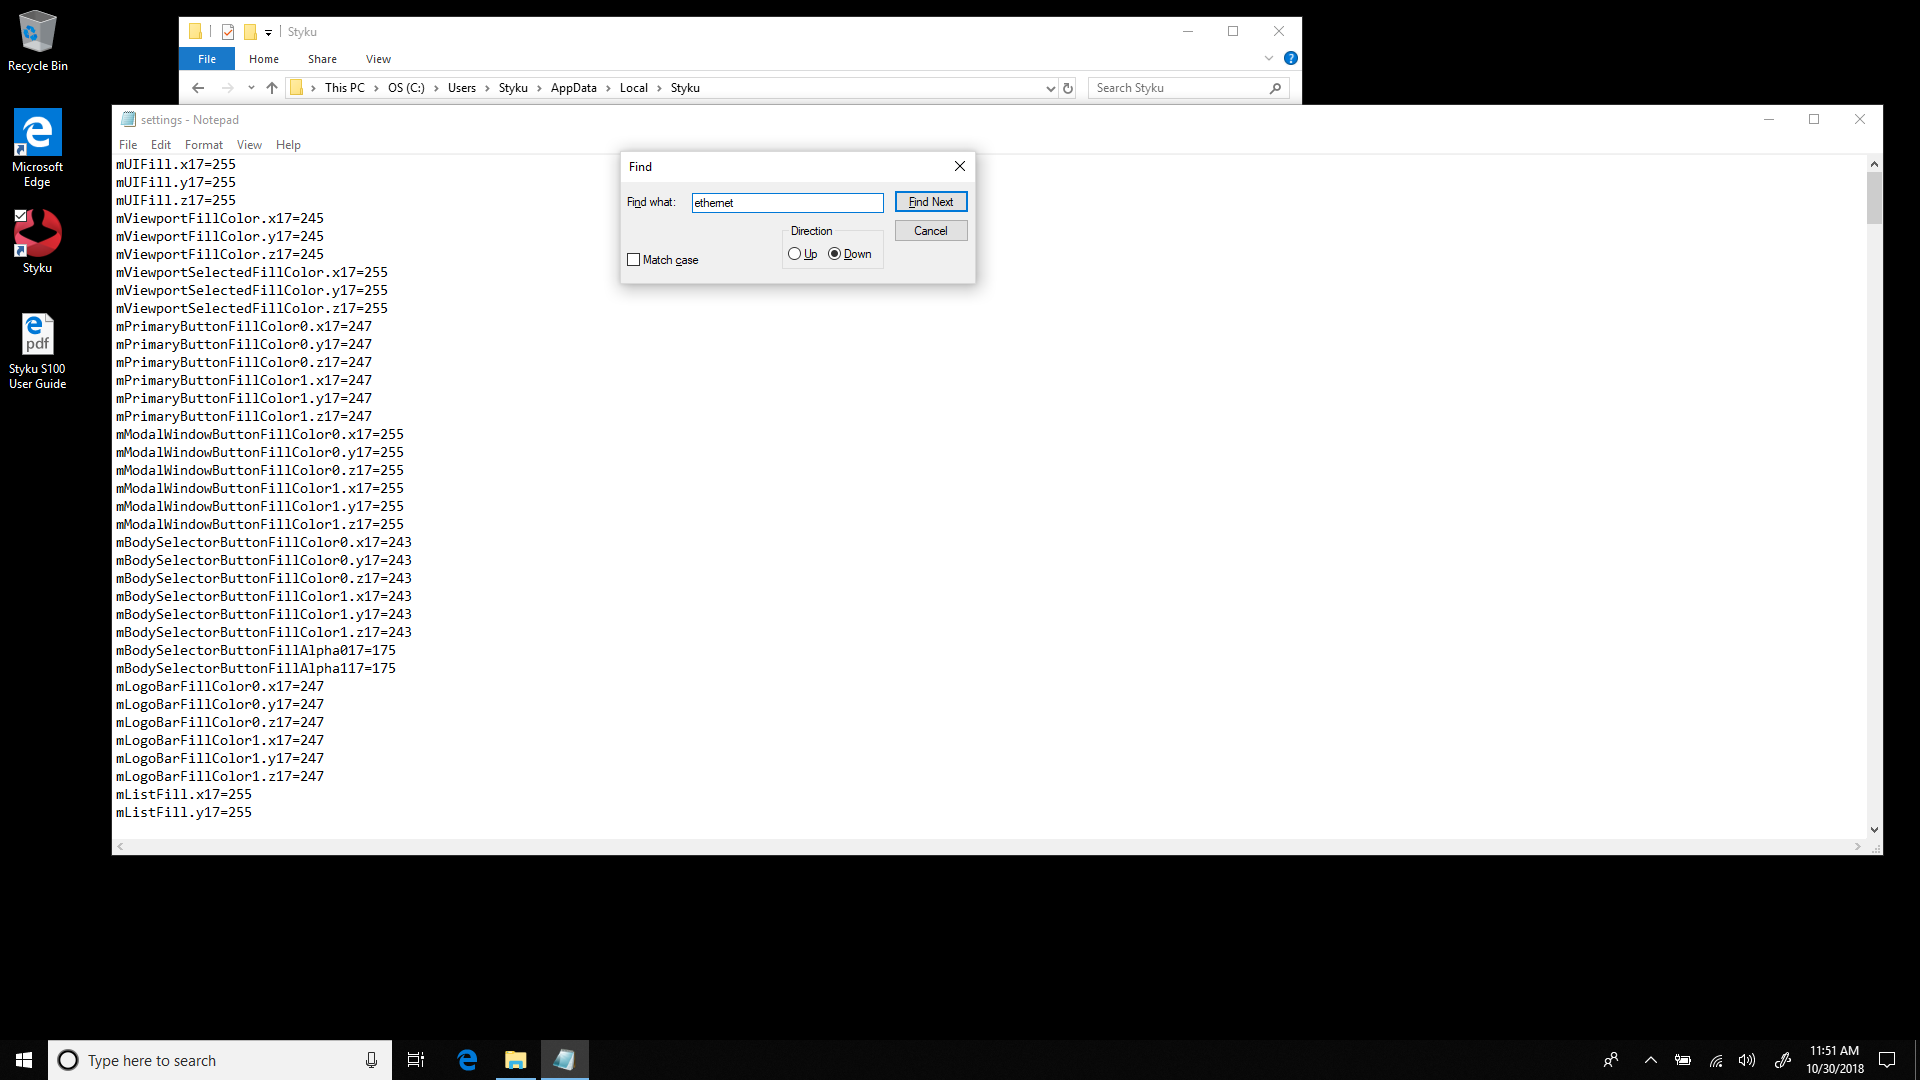
Step 10 : Press ctrl + F and in the search box search for the word ethernet.
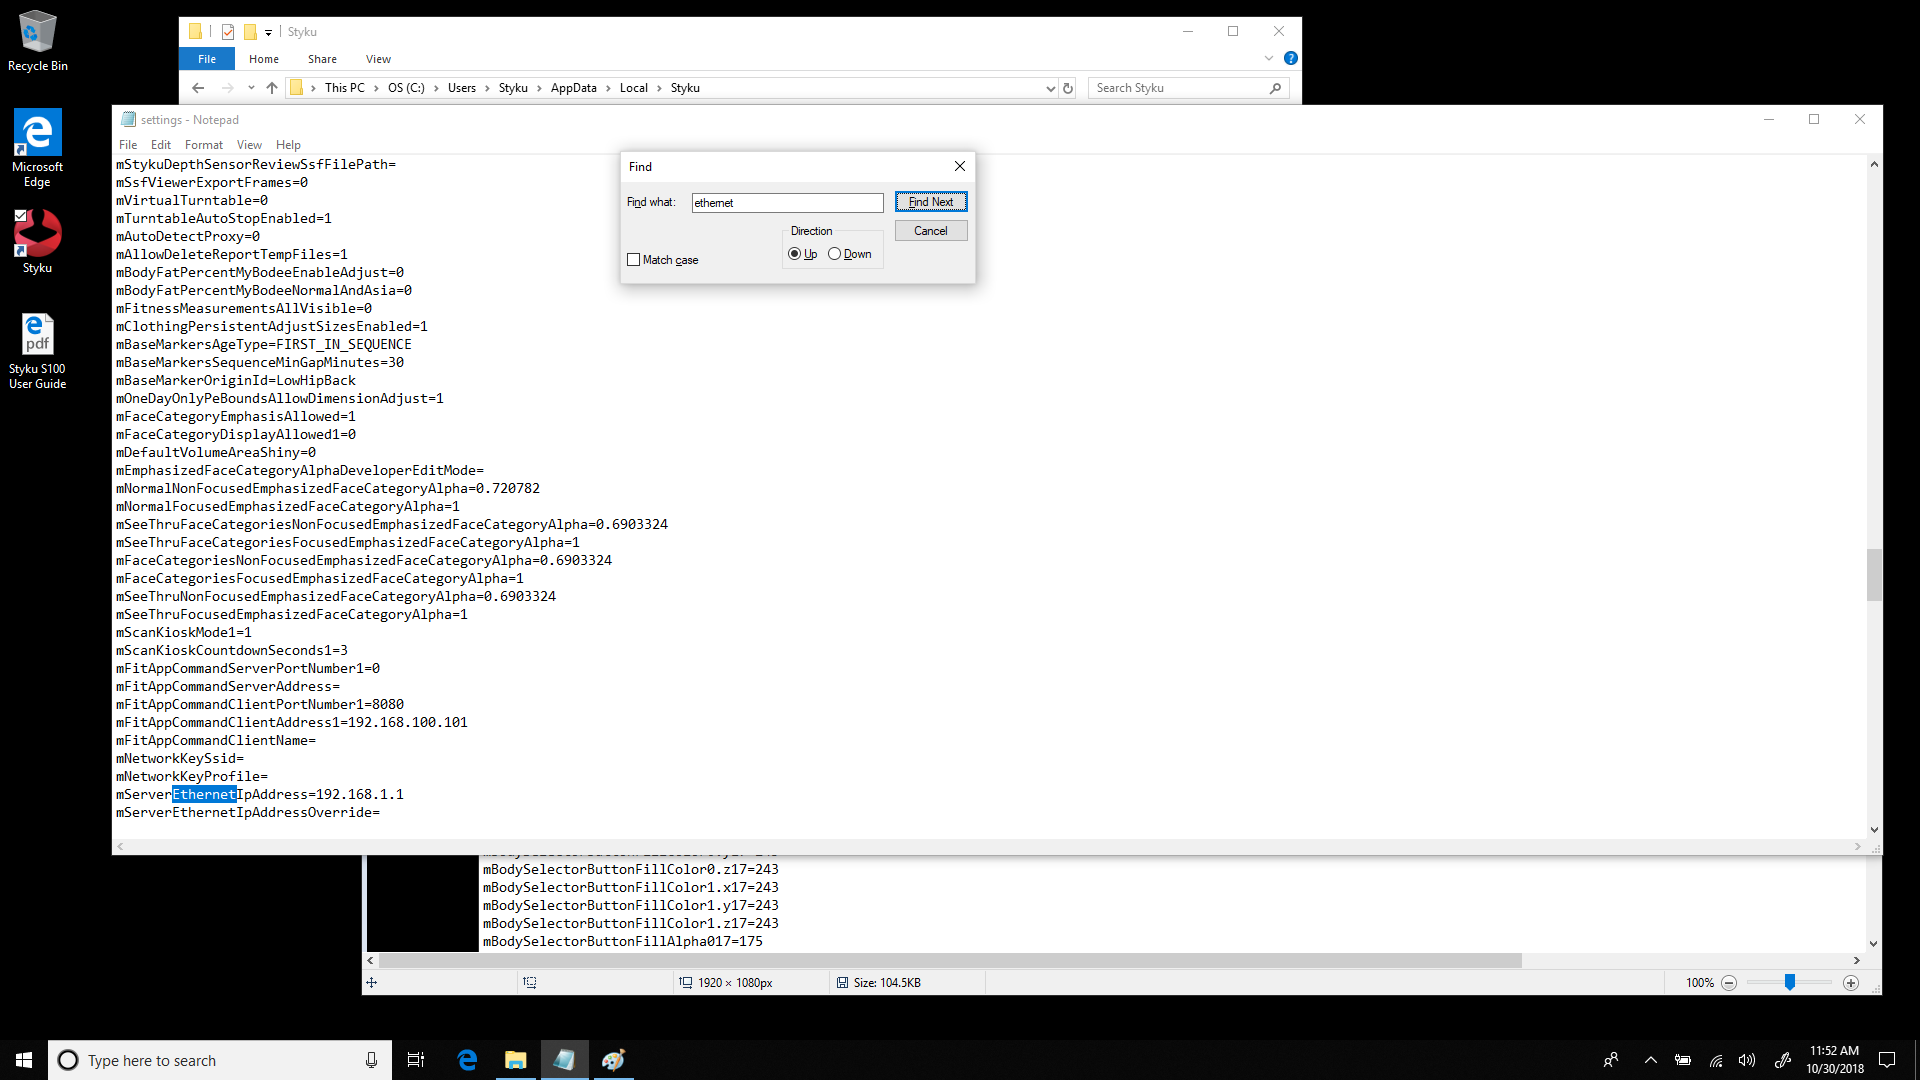
Step 11 : Find the settings named “mServerEthernetIpAddress=” and “mFitAppCommandClientAddress1=”, and delete the numbers after the = sign for both of those settings.
Step 12 : Close the file by clicking the X in the top right corner. When asked to save the file, choose Save.