- Styku Knowledge Base
- Getting Started
- Set Up Your Scanner
Can I move my Tower and Turntable around?
If you have a small space and you are constantly needing to set up and take down the system in a certain area, follow these steps to have a consistent environment.
If you would like to know how to set up your Styku Unit in a good environment read this article:
How can I check my scanner setup to make sure the environment and lighting is correct for scanning?
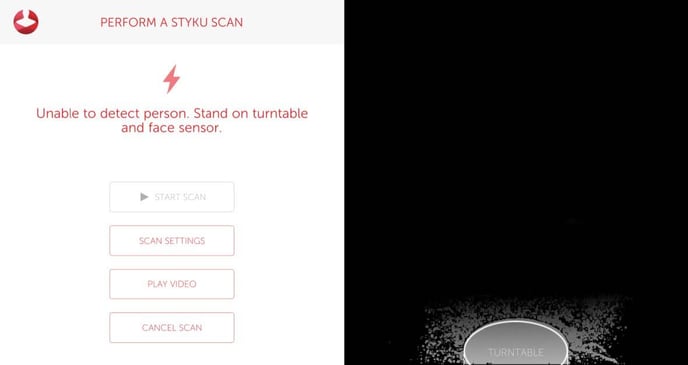
Step 1 : Check that the turntable is centered in the sensor view.
Press Scan in the software when you have all of the hardware components connected. You will see a view of what the sensor is capturing. There is an outline of the turntable in the view. Position the turntable in the outline.

Step 2. Perform a test scan
Do a precision test
https://www.styku.com/help/search/how-can-i-check-measurement-precision
3. Mark the base of your Tower
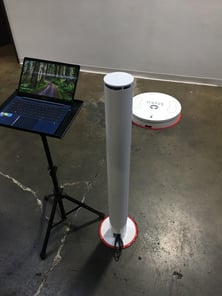
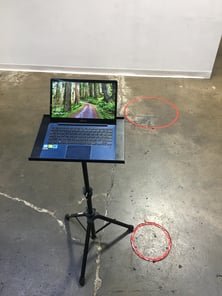
After reading the scanner setup and environment article, make sure the distance between the tower, back wall and side walls are appropriate. Next, outline the base of your turntable with masking tape so you know exactly where to position the turntable in case it is moved around.

.jpg?width=231&name=Image%20from%20iOS%20(2).jpg)
Step 4.
Follow the same steps for your tower
.jpg?width=311&name=Image%20from%20iOS%20(3).jpg)
.jpg?width=175&name=Image%20from%20iOS%20(4).jpg)
Your tower and turntable are now marked so they can be set in the same spot even after having the system moved or bumped.


